Imagine transforming your business communications overnight—cutting costs while boosting flexibility. FiberConX VoIP services promise just that, offering a scalable, internet-based alternative to traditional phone lines. But the secret lies in the setup: how can you ensure your Grandstream ATA, like the HT814 or HT818, is configured flawlessly to unlock these benefits? Proper setup isn’t just technical; it’s a strategic move that determines call quality, reliability, and savings. From connecting your hardware and accessing the device’s web interface, to entering the right SIP credentials, each step can make or break your transition to VoIP. Are you prepared to replace costly analog lines with a seamless, future-ready system? With careful preparation and precise configuration, your business can enjoy crystal-clear calls, effortless scalability, and substantial savings—if only you know the right steps to take.
Enhance Your Business Communications with FiberConX VoIP Solutions in Canada
Discover the power of advanced VoIP Phones from FiberConX Communications, your trusted provider of VoIP and IP business phone services in Canada. Our comprehensive solutions include features like voicemail, IVR, Ring Groups, and voicemail-to-mail, ensuring seamless and professional communication for your business. Whether you’re a growing enterprise or an established organization, FiberConX offers reliable, scalable, and feature-rich phone systems tailored to meet your needs. For more information or to request a consultation, contact us at Sales@FiberConX.com or call 1.800.961.6856 today.
Unlock Cost Savings with FiberConX VoIP and Proper ATA Setup
FiberConX VoIP services are reshaping how businesses communicate by offering a flexible, cost-effective alternative to traditional landlines. By routing voice calls over the internet, FiberConX enables companies to significantly lower monthly phone expenses while gaining the agility to scale their communication systems effortlessly. Unlike conventional phone lines that require physical wiring and hardware upgrades for each new line, FiberConX’s VoIP solution simplifies adding or removing lines through straightforward software adjustments. This flexibility is especially valuable for growing businesses or those needing quick adaptation to shifting communication needs.
However, to unlock the full savings and efficiency benefits of FiberConX VoIP, proper setup of your Analog Telephone Adapter (ATA) is essential. The ATA acts as a bridge, converting your existing analog phones and fax machines into digital VoIP-compatible devices. When configured correctly, it ensures clear call quality, reliable registration with FiberConX servers, and seamless integration with your existing hardware. A misconfigured ATA can lead to issues like dropped calls, poor audio, or registration failures, which can negate the cost advantages of switching to VoIP.
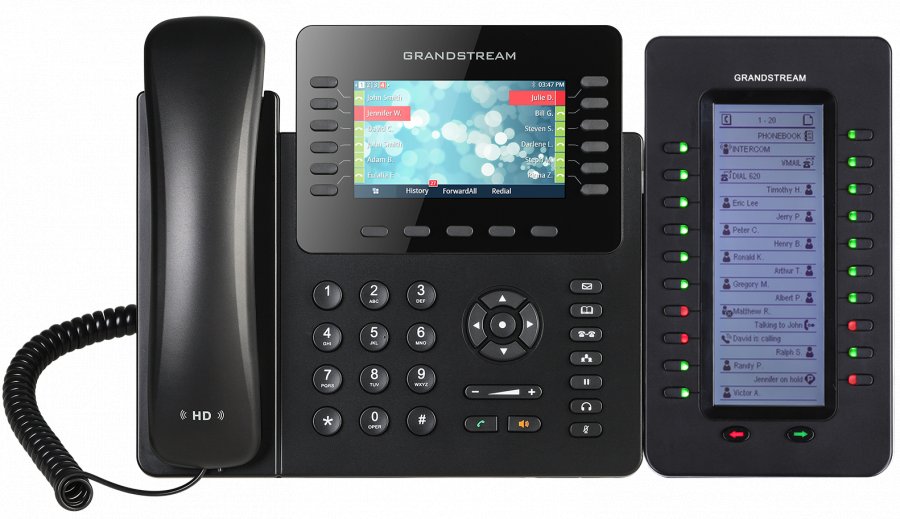
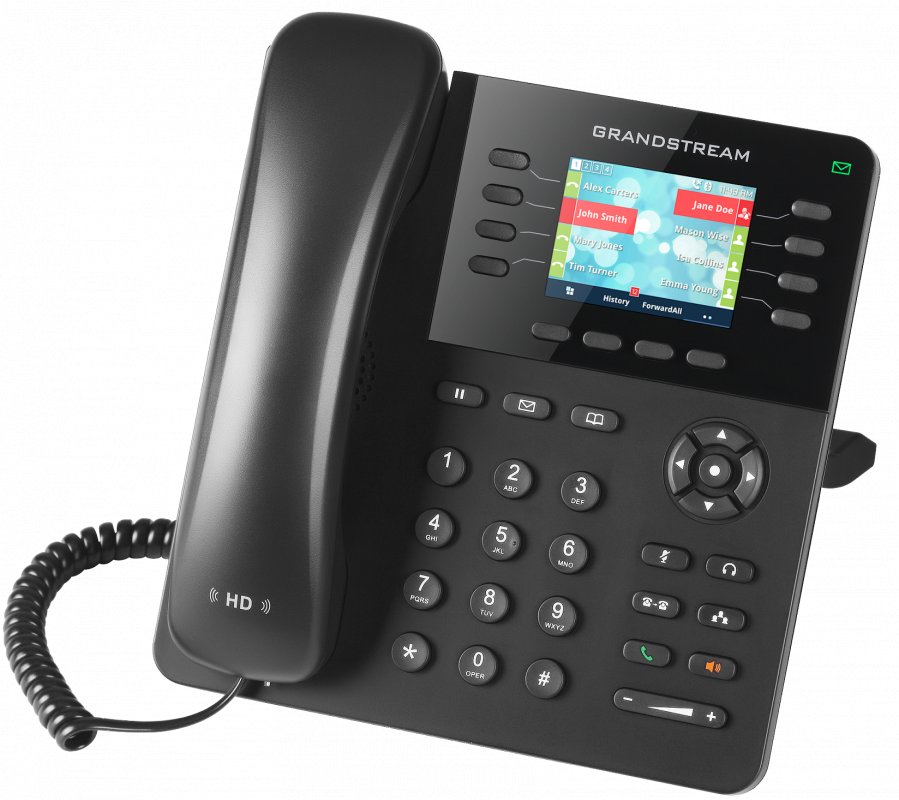
Grandstream’s ATAs, such as the HT814 and HT818, are designed to make this transition smooth. They feature multiple FXS ports, allowing several phones or fax machines to connect through a single device. Their straightforward setup process, combined with robust security features and SIP protocol support, makes them a trusted choice for businesses moving to VoIP. These devices are especially well-suited for FiberConX users because they effortlessly convert analog signals into digital calls, enabling a quick and reliable migration from traditional landlines to an internet-based system.
Getting started involves a few key steps. First, ensure your hardware is ready—power it on, connect it to your network with a stable Ethernet cable, and verify your internet connection’s speed and stability. Next, connect an analog phone to the FXS port and dial the IVR access code (usually ***), then listen for the IP address announcement. Accessing the device’s web interface via this IP is critical for configuration, as it allows you to input your FiberConX account details, SIP server information, and network settings. Proper preparation here helps prevent common issues like incorrect credentials or network connectivity problems, setting the stage for a smooth setup process.
Finally, having your FiberConX account information at hand—such as the SIP server address, User ID, and password—is crucial. These details enable your ATA to register correctly and start handling calls over the FiberConX network. Ensuring your network connection is stable and your device’s web interface is accessible will save time and frustration later. When configured properly, your ATA will convert your analog devices into digital VoIP endpoints, allowing you to replace costly traditional lines with affordable, scalable FiberConX services. This setup not only reduces your communication expenses but also positions your business for efficient, future-ready connectivity.
Essential Steps to Prepare for ATA Configuration Success
Before diving into the configuration process, ensure you have all the necessary hardware and information at hand to make setup as smooth as possible. Start by verifying that your Grandstream ATA—whether the HT814 with four ports or the HT818 with eight ports—is in good working condition. Check that you have a reliable Ethernet cable ready to connect the device to your network, and confirm your internet connection is stable and fast enough to handle VoIP traffic without lag or jitter. Running a quick speed test can help identify potential issues before they cause call quality problems later on.
Next, connect your ATA device to your network by plugging an Ethernet cable into its LAN port and connecting the other end to your router or switch. Power on the device and watch for steady or blinking LAN indicator lights, which confirm a proper connection. Once powered, the next step is to find the device’s IP address. This is essential because it allows you to access the web interface where all the configuration happens. To do this, connect an analog phone to one of the FXS ports on the ATA, dial *** to access the IVR menu, then dial 02 to hear the IP address announced aloud. If you don’t hear the IP, double-check your connections and ensure the device is powered on.
With the IP address in hand, open a web browser on your computer and enter it into the address bar. This will bring up the login page for the ATA’s web interface. Use the default credentials, typically ‘admin’ for both username and password, unless you’ve changed them previously. Logging in here grants access to the device’s settings, which you’ll need to customize for FiberConX. Securing access early prevents delays and helps troubleshoot connection issues before proceeding further. This step ensures you’re ready to input vital details like your SIP server information, user IDs, and passwords.
Having your FiberConX account details ready is equally important. Locate your SIP server address—often something like sip.fiberconx.com—as well as your unique User ID and password. These credentials are essential for registration, allowing your ATA to connect seamlessly to FiberConX’s servers. Gathering this information beforehand prevents unnecessary delays during setup and ensures a smooth transition from preparation to configuration. Keep these details in a safe place so you can reference them easily during the process.
Finally, consider backing up your current device settings once you’ve accessed the web interface. Saving a configuration file provides a safety net in case you need to restore your settings later, avoiding the hassle of starting from scratch. This simple step can save a lot of time if issues arise or if you experiment with different configurations. With your hardware ready, network verified, and account details in hand, you’re set to move forward into the detailed configuration of your ATA. This preparation lays a solid foundation for a reliable, efficient VoIP setup that will allow you to replace costly traditional lines with the flexible, affordable FiberConX service.